Review: Design Doll (tips and tricks addition)
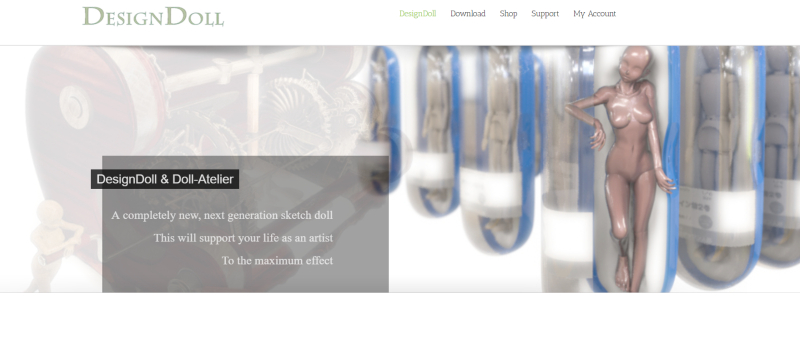
[Design Doll Homepage]
This app has been out for a while but thought I would still take a moment to post about it and mainly share some tips on using it to help those just starting out with it too. Just a quick blurb about it. It is a 3d pose reference/modeling app. You can also import props and create simple ones in app…. You can get it at the site linked above (Design Doll). If you don’t want to buy it you can still try it out but you can’t save and open (I think) saved files. You can however take screenshots. But if you buy it you help support the creator and continued development of the app so if you like it maybe consider purchasing :). Anyway once you download it and get it up and running I suggest you play around with the different settings at the top and sides.
Also Youtube has some great tutorials on how to use it if you just type in “Design Doll”.
Pros
- It isn’t as complicated as some other full featured 3 applications
- There are hand and foot libraries
- You can pose multiple models together
- Many aspects of your models can be modified like height, length and widths, color, etc.
- It exports files that can be opened and edited in other apps that accept those formats.
Cons
- It takes a hot minute to get used to it
- It is a bit expensive at about $80 (there are free 3d apps like Daz and Blender)
- It hasn’t been updated in a long while
– Tips & Tricks –
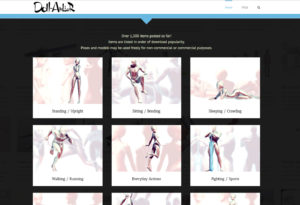
Free Poses!
If you are having a hard time posing or just want something to work from you can head over to their pose site and pick a pose and copy the Dsomething something code into the top part of Design Doll. The pose site can be found at http://doll-a.net/terawell/
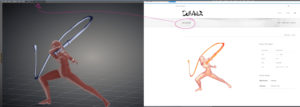
For the Love of GOD, how do you POSE IT?!?
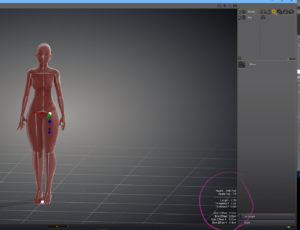
If you clicked that little gray circle and NOTHING happened and you want to quit the program (or maybe that was just me?) STOP clicking the gray circle and instead click near it and you should then get the handles that allow you to rotate, etc.
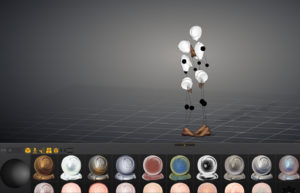
Rotate, Change Colors, Change Model Framework
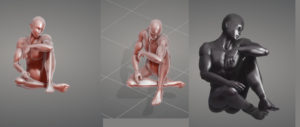
So now you have a great pose but the color is too bright for your eyes or all that digital flesh is getting in the way of you really seeing the pose? Then if you click the tab at the bottom you can see different options to change the colors, and convert to a wireframe. A bonus is that if you have a mouse with a scroller you can use it to zoom in and out and by holding down your right button you can rotate the model selected.
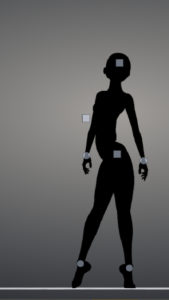
Darkness, my sweet friend aka silhouette mode
I found this out like most find out great tips and tricks- by mistake. If instead of hitting ctrl+s to save, you just hit S you get Silhouette mode. Hit it again and it goes back to the way it was before.
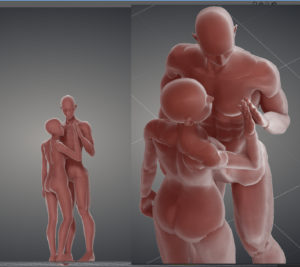
Models, models, models
I don’t know if this really counts but this is something I love to do- zoom in and out and change perspectives on my models to see the space relationships and if I like how they seem to be working together. I’m not sure how many models you can have at a time but 3 or more. The 4 icons at the top will help you rotate and position your ‘camera’ to get a better view of them so play around with those.
About those models…
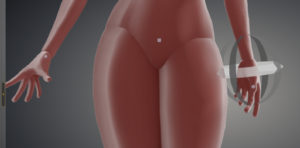
Are you tired of your models all looking the same? Well DD has you covered because you can easily edit widths, lengths, shapes, etc. It’s also great if you have very specific heights for your models because you can just type those in. Just go to the top right and click the magnifier icon with the plus sign. Then once you see the grey wires in your model click one part and you should then see red, green, and blue handles that will let you manipulate the sizes, etc.
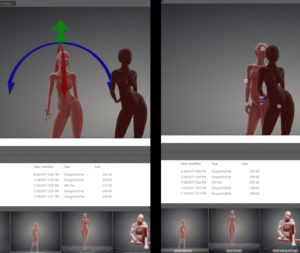
Now you have poses and are comparing them…
So you have a few poses and you want to compare them. You can easily add models you have already created as saved files by going to File ->Add and the model will be added to your current scene. If you have other saved files you can easily change the pose of your selected model by opening the Library. (File –> Library Mode) With the library open if you select a similar model from the library your*- current model should change. (If my selected model was female and the library model was male or more than one model-no changes were made).
Bonus- Clip Studio Paint likes (not loves) Design Doll
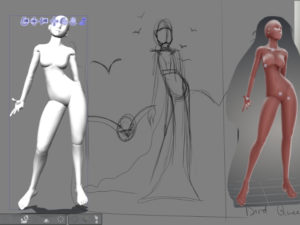
You can save your Design Doll file (if you have purchased it) as an obj file that Clip Studio Paint can open. You can also just do a screen cap (Print Screen button) and paste it in CSP as a flat reference. However if you want to rotate, change the size etc you are going to need to open the obj file. I find it is easiest to just drag it (the obj file) out of a folder directly into CSP.
Phew! That’s it- that’s all I’ve got for the moment. I’ll update if I find any other useful tips and or tricks. Hope that has helped and if you have any Design Doll tips or related feel free to share. Happy arting~!
2 Comments
Loui Barragán
Thank you so much for this!
jei
You’re more than welcome! I’m thinking about doing an updated post with other software similar to Design Doll that I think might be a bit easier to use as well as updated more frequently on both desktop and mobile devices. So if you are interested check back in a few weeks 🙂